Free Network Monitoring Cacti Setup in Ubuntu Step by Step Guide - Lesson-1
Virtualization product used in this demonstration is Virtual Box. You can download Virtual Box from the link below:
https://www.virtualbox.org/
Follow the Steps to download and install the virtual box:
Step 1: Open the above link and click on download.
Step 2: Select the Platform as per your host machine OS.(For example:, I am going to install virtual box in my window machine thus I will choose window host.)

Step 3: Open the .exe file which you have download.

Step 4: Select all the default settings and click on Next.
After the complete installation, you will see the virtualization tool as below
Follow the steps below to download and add Ubuntu in Virtual Box
Step 1: Download Ubuntu from the below link:
https://ubuntu.com/download
The Virtual Machine is downloaded.
Step 2: Now to add the Ubuntu to the Virtual Box. Go to Virtual Box and click on add.
Step 3: Enter the Name, choose the folder and select the type of the virtual machine.
Step 4: Modify the Hardware.
Step 5: Enter the Harddisk Size
Step 6: Check everything and click on finish.
Step 7: Right click on the VM that you have created and click on settings or you can directly click on the settings option.
Step 8: You can choose the network settings as per your requirement but for this demonstration I am going to select Bridged Adapter.
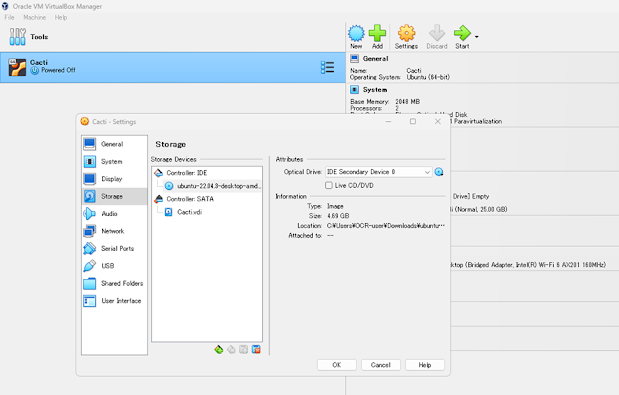
Step 9: Choose the Ubuntu.iso File that you have downloaded earlier and click OK.
Step 10: After choosing the .iso file click OK.
Step 11: Now click Start.
Step 12: Choose the installation language
Step 13: Choose Keyboard Layout
Step 14: Click on Continue
Step 15: Click on Install Now
Step 16: Enter the details
Step 17: Installation started
Step 18: Installation is complete. You need to restart the computer
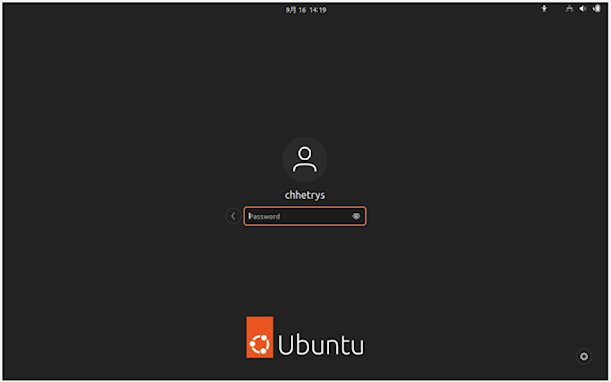
Step 19: After Restart, login the machine using the password that you have created earlier


